Where do you start with diamond painting?
Have you just ordered a new diamond painting and is it sitting there, full of anticipation, waiting for you? Then the question naturally arises: Where do you start with diamond painting?
Especially as a beginner, you can get a little overwhelmed by the large canvas, the many colors, and the sticky surface. But even experienced painters sometimes wonder: what's the best approach? Should I start at the top or the bottom? In a corner or in the middle?
In this blog you will learn:
- What the The best way is to start a diamond painting.
- Which starting point is handy for left- and right-handed people
- What the advantages and disadvantages are of starting at the top or at the bottom
- Practical diamond painting tips for beginners

Why is the starting point important?
How you start largely determines how smoothly the painting goes. If you begin in an awkward spot, you can unknowingly get your hand into the adhesive layer, or worse: rub across newly placed stones. That can cause frustration and even damage to your artwork.
The right starting point ensures that:
- Your canvas clean and intact blijft
- Your arm doesn't rub against the applied stones.
- Je het werk in in a logical order and without stress you can complete
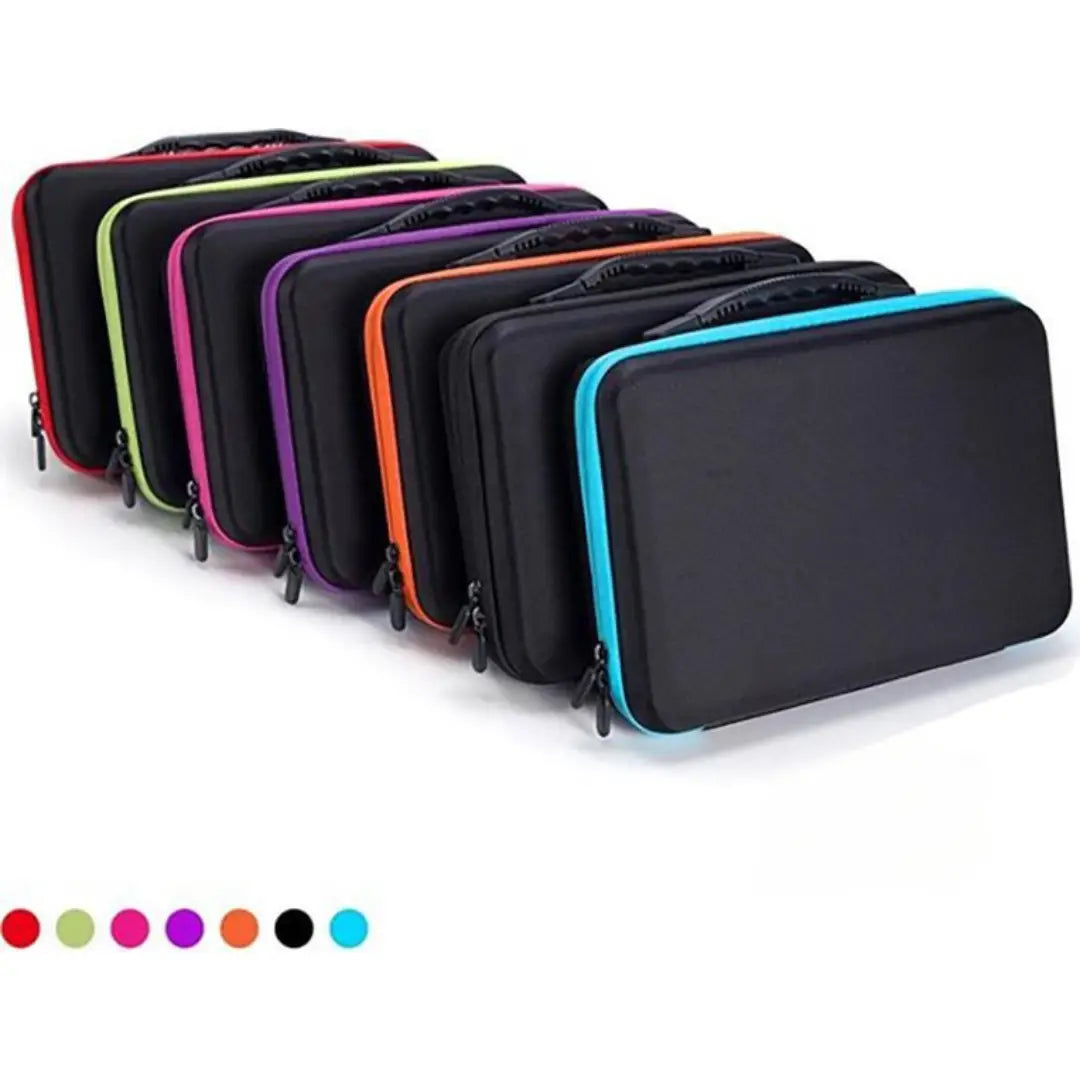
💡 Tip: Do you want to know which tools can help you keep your canvas tidy and get the most out of your hobby?
👉 Then read our blog Diamond Painting Accessories: Must-haves for a Successful Project in which we list all the indispensable tools for an organized and relaxed diamond painting experience for you.
Best ways to start a diamond painting
There is no universally right place, but there are smart choices that fit how you work, namely whether you are left- or right-handed.
For right-handed users
If you're right-handed, you often move your hand and arm from left to right across the canvas. The two most logical starting points are then:
Bottom right corner
From this corner you work upwards or to the left, pulling a little bit of the plastic up each time. You don’t lean on the glued-on gems and have a clear view of your work.
Top left corner
Another popular choice. You pull the protective film down and work downward. That way you avoid getting near any diamonds you've already placed.
🔗 Tip: Getting off to a good start with your diamond painting is even easier with the right tools.
👉 Check out our Diamond Painting Accessories Collection for useful pens, light pads, storage boxes and more. Specially selected to help your creative process run smoothly and stay organized.

For left-handers
If you're left-handed, you tend to move your hand from right to left. These starting points are most convenient for that:
Top right corner
Here you pull the protective film from top to bottom and work from right to left. Your arm does not rest on the glued stones, which prevents the risk of shifting.
Bottom left corner
Also a good option. You work upward or to the right. You have a clear view and your hand rests on the still-unworked canvas.

Start at the top or the bottom?
Besides choosing a specific angle, many diamond painters sooner or later ask themselves the question: Should I work on my diamond painting from top to bottom, or from bottom to top?
Although there are no fixed rules, each method has clear advantages and disadvantages. It's especially important to consider what works best for you. Depending on your working posture, table space, the size of your canvas and whether you are left- or right-handed.
Start at the top
For many diamond painters, starting at the top is the most commonly chosen method, especially with larger canvases. You would then, for example, start in the top left corner or top right corner`, and work downwards while you peel off a small piece of the plastic protective film each time.`
✅ Benefits:
-
The protective plastic is easier to put back:
You can work section by section and neatly roll the plastic back down. This keeps the adhesive layer protected and prevents dust or hair from sticking to it. -
You have a clear overview of the final result:
Because you work from top to bottom, you are always looking at a part that is already finished. This is motivating and makes it easier to follow patterns and colors. -
The underside remains free of disturbances or sticking arms:
Your arm rests on an empty canvas, so you won't accidentally touch any placed gems.
⚠️ Disadvantages:
-
Your hand can touch the adhesive layer if you're not careful:
When working your way down, your hand sometimes (unconsciously) rests on the adhesive part of the next compartment.
🔧 Solution: Use a piece of baking paper, greaseproof paper or special release paper to cover the parts you're not working on yet. That way everything stays clean and it sticks just as well when you're ready for it.
Start at the bottom
Some diamond painters choose to start at the bottom, for example in the bottom-left corner or bottom right corner`, and then work upwards. This is especially useful if you lay your canvas flat on the table.`
✅ Benefits:
-
Your canvas lies flat on the table, which works well:
Especially with smaller canvases, this is a comfortable working posture. You don't have to keep your arm raised or constantly reach forward. -
You can see the design gradually taking shape:
As you work upwards, the artwork comes more and more to life. It's as if you're letting it "grow" on the canvas. That feels very satisfying.
⚠️ Disadvantages:
-
The top part of the canvas is difficult to reach for large works:
Especially with long or wide canvases, you can't always reach the top when you need to.
🔧 Solution: Rotate the canvas once you reach the top half. This lets you continue working in the same comfortable way. Do note, however, that the symbols will then be upside down, which takes a little getting used to.
💡 Extra tip: Use a rotating painting panel or canvas holder if you often start working on large pieces.
What is better: above or below?
There is no right or wrong, only what works for you. For a clear workflow with less risk of disruptions, starting at the top is often best. But if you prefer to work comfortably at the table and see immediate results, starting at the bottom is an excellent choice.

Diamond painting tips for beginners
Whether you start in the right-hand corner or prefer to work from the top, good preparation and technique make your diamond painting a lot more enjoyable and organized. With these practical tips you can get off to a great start as a beginner, and even experienced painters often still benefit from them.
Work in small squares
Instead of randomly filling sections, it's best to divide your canvas into small work zones of, for example, 4x4 or 5x5 cm. This helps you stay organized and prevents you from accidentally forgetting stones or mixing up symbols.
🛠️ Extra tip: Use a piece of washi tape or a ruler to visually mark off the zones. Only move on to the next square once the previous one is completely finished.
Use a lightbox
For canvases with dark colors or many small, detailed symbols, it can be difficult to see everything clearly, especially in the evening. A light pad (also called a lightpad) illuminates the canvas from below, making the symbols easier to see.
🔦 Especially useful for:
- Dark backgrounds
- Working in the evenings
- Symbols with many similar-looking characters (such as O and Q)
👉 Would you like to know more about why a light pad is such a handy tool?
Read our blog The benefits of a light pad for Diamond Painting and discover how it improves your vision and comfort at work.

Protect the adhesive surface
The adhesive layer of your canvas is sensitive to dust, stray hairs and fingerprints. Are you working on a large canvas? Then cover the areas you are not working on yet with baking paper, silicone sheets or even the original protective film.
📌 Prevent pets or loose clothing fibers from getting on the canvas.
A well-protected adhesive layer means better adhesion for the stones and a more beautiful final result.
📄 Do you want to professionally protect the canvas while you work?
👉 Then read our blog What is release paper? All about Diamond Painting release paper discover why this smart tool is ideal for keeping your adhesive surface clean and in top condition.

Work color by color
Do you have a section with a lot of one color? Then finish that color first before you move on to the next. This works:
- Efficient (fewer bag changes)
- Calming (more focus)
- Neat (less chance of incorrectly placed colors)
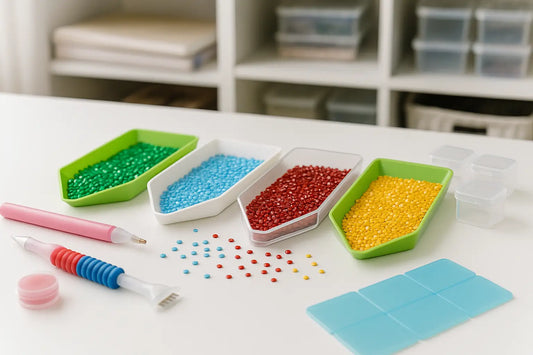
🧠 Tip: Use sorting boxes with clear labels for each color or DMC number. That way you can find everything quickly.
🌈 Curious how many different colors there actually are in diamond painting?
👉 In our blog How many colors are there in Diamond Painting? lees je alles over het DMC color system and discover why good color management is essential for a crisp final result.

✔️ Be patient and enjoy
Diamond painting is about relaxation, precision and creativity. Give yourself time to get used to the process. It doesn't have to be perfect; what matters is that you enjoy what you create.
❤️ Remember: each little stone brings you closer to a brilliant final result!
🆕 Just started with diamond painting and want all the basics in one place?
👉 Check out our Beginner's Guide to Diamond Painting. Dé guide packed with explanations, tips and practical steps to start your first project stress-free.
Conclusion: What is the best way to start a diamond painting?
There is no absolute rule for where you should start with diamond painting, it ultimately comes down to what is most comfortable and practical for you. Still, there are a few smart guidelines to help you get started:
✅ Are you right-handed? Then preferably start in the lower-right corner or the upper-left corner. That way you avoid dragging your arm over the glued-on stones and you'll work efficiently.
✅ Are you left-handed? In that case, the top-right corner or bottom-left corner is often the best choice. Your arm stays clear of the glue layer, and you maintain a comfortable working posture.
✅ Are you working on a large canvas? Then working from top to bottom is ideal. You maintain an overview, can easily work per compartment, and prevent the underlying pieces from shifting.
✅ Do you prefer to work at a table? Then it's nicer to start at the bottom. Your canvas stays flat and you see the design gradually take shape.
✨ Most important lesson:
The best way to start a diamond painting is the one that brings you calm and enjoyment. Diamond painting is not a competition, but a creative and relaxing activity. Choose an approach that suits your preference, pace, and space.
💬 Want to know why doing creative activities, like diamond painting, is so relaxing and boosts your mental health?
👉 Read this interesting article from Real Simple: Good News: Creating Art Can Improve Your Mental Health discover how creating art contributes to less stress and greater well-being.

❓ Frequently Asked Questions
Which corner should I start with when diamond painting?
- Authorized representatives: Ideally start in the bottom-right corner or the top-left corner.
- Left-handed: Begin preferably in the top right corner or bottom left corner.
These choices ensure your hand doesn't move over placed gems and that you can work comfortably.
Is it better to start at the top or at the bottom?
Both methods have their advantages:
- Start at the top: geeft an overview, prevents the stones from shifting, and lets you work in an organized way from top to bottom.
- Start at the bottom: geeft more control, especially when you're working on a table. The canvas lies flat and you can literally see your work grow upward.
It depends on your canvas size, working posture, and personal preference.
What are handy tips for getting started with diamond painting?
- Work in small squares to keep an overview
- Use a light panel for better visibility
- Protect the adhesive side with foil or baking paper
- Work color by color for more peace of mind and fewer mistakes
🎨 New to diamond painting? Don't worry!
👉 In our Beginner's Guide to Diamond Painting we explain step by step how to get started, which materials you need, and give tips to successfully complete your first artwork.
🎁 Want to learn more?
Do you come across new terms and aren't exactly sure what they mean?
👉 Check out our Diamond Painting Explained: What All Terms Mean for a handy overview of all commonly used terms, symbols and materials – ideal for beginners and advanced users.