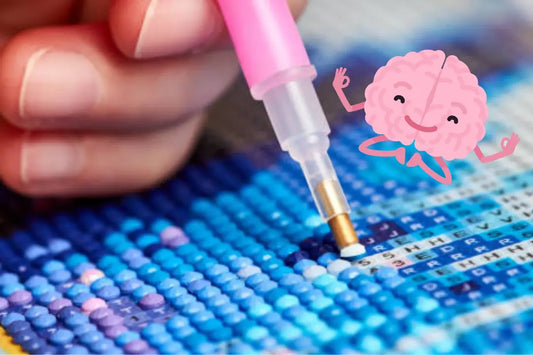
Diamond Painting Your Own Photo Instructions: Tips for a Perfect Result
Want to turn your favorite memories into a beautiful work of art? With this Diamond Painting Own Photo Guide and instructions, you will learn step by step how to get the most out of your project. From choosing the right photo to selecting the perfect canvas size, we share essential Diamond Painting Own Photo tips and a handy Diamond Painting Own Photo step-by-step plan and tutorial . This article contains all the information you need to make your diamond painting with your own photo a success.
Diamond Painting Own Photo Instructions: How to Choose the Best Photo?
Select a high quality photo
An image that is even slightly out of focus or pixelated will not produce good results as a diamond painting. For a good result, it is crucial that the photos are of high quality and taken under good lighting conditions.
What determines the quality of a photo? The pixels.
Think of each pixel as a small diamond; the more pixels (or diamonds) an image contains, the more detailed the diamond painting will be. A high-quality photo is essential to create a wealth of pixels (diamonds). When this photo is transferred to a canvas, the final painting will be as vivid as the original photo.

If you notice that an image becomes blurry or grainy when zoomed in, choose another photo. Our paintings are created with a program that enlarges images. Dark photos with lots of shadows will not provide much visible detail at a small size.
Diamond Painting Your Own Photo Tip: Not sure about the quality of your photos? Use a photo editing program like Photoshop to check the quality. For those using a phone, try zooming in to inspect the details up close. Ideally, your photo should have a minimum resolution of 1134 x 1134 pixels. In some cases, photos with slightly fewer pixels can also suffice, as long as they are very sharp.

To find out the number of pixels of your chosen photo, do the following: select the photo, right-click and choose 'Properties'. Then look under 'Details' where you can find the exact number of pixels of the photo.
Note the colors and shadows in the original image
Frequently asked questions include: “Why does the white in my painting have a different color?” and “Why does the black part contain brown and green diamonds?”
In our Diamond Painting Own Photo Manual we address these types of questions. Subtle color nuances in the original photo, such as light red or blue, are greatly enlarged. This can cause a red glow in the photo to spread to parts that should be white.

When you enlarge your photo, all the details, such as wrinkles or moles, become as clear as when you look into a magnifying mirror. This effect is also seen in diamond paintings, where every pixel and detail becomes visible. To avoid any unwanted surprises, we recommend making some basic adjustments to the color and tone using your favorite photo editing software, or a free online tool like LunaPic , before uploading your photo.

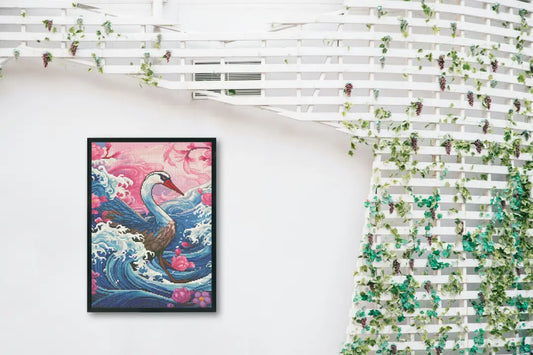
Diamond Painting Own Photo Instructions: Choose a size that best fits the photo
The two most important aspects are the size of the canvas (which size do you choose?) and the orientation of the canvas (horizontal, vertical or square?).
Which size should I choose?
When choosing the size of your canvas, it is important to consider the number of subjects (such as people or pets) in the photo. For an optimal diamond painting, we recommend that the main part of the image takes up 70-90% of the canvas.
A useful rule of thumb for more detail in your painting: a larger canvas allows for more detail.

Do I need a landscape, portrait or square canvas?
Choose a canvas size that matches the proportions of your original photo to maintain the integrity of the image. For example, for a landscape photo, the sizes 30x20, 60x40 or 90x60 are suitable. This way, the composition of your photo is preserved on the canvas.

Please note: If you select a square canvas and send us a landscape photo, we will need to crop the photo. While we will do our best to crop the photo as accurately as possible, we cannot guarantee that we will not accidentally crop something that you would have liked to have in the photo.
Diamond Painting Own Photo Tutorial: Practical Tips and Step-by-Step Plan
- Check photo quality: Zoom in on your photo to assess its sharpness.
- Photo Editing: Adjust colors and contrast to get the best result.
- Choosing a size: Base your choice on the aspect ratio of your original photo.
Order your own Photo Diamond Painting!
With this Diamond Painting Own Photo Manual , including an extensive Diamond Painting own photo step-by-step plan and a handy Diamond Painting own photo tutorial , you are ready to transform your favorite memory into a sparkling work of art. Order today and enjoy the creative journey to your unique masterpiece!