Diamond Painting Lifehacks: 15 Tricks That Make Your Hobby Easier
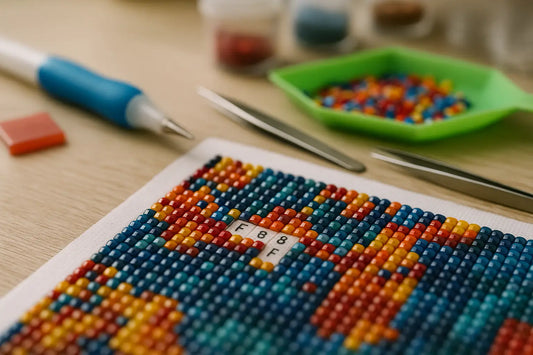
Do you love diamond painting? Then you know this hobby is not only relaxing, but can sometimes bring quite a few frustrations. Fortunately, there are countless diamond painting lifehacks that make your experience much more enjoyable and smoother. In this blog you'll discover the best diamond painting tips, clever tools and handy tricks to make diamond painting easier. Whether you're a beginner or a seasoned crafter, you won't want to miss these handy tips for diamond painting.

Why life hacks for diamond painting are so important
Diamond painting is much more than a creative pastime. It is a relaxing and soothing hobby in which you completely immerse yourself in placing small gems. For many people it is even a way to reduce stress and clear their mind. But, as with any hobby, you will also encounter obstacles here.
Without the right tools or techniques, all kinds of frustrations can arise that significantly reduce the enjoyment of diamond painting. Think, for example, of:
- Air bubbles or wrinkles in the canvas that make placing the stones difficult
- Missing or static diamonds that stick to everything except the canvas
- Misaligned rows that make your artwork look messy
- Materials mixed together, causing unnecessary wasted time and confusion
That's precisely why good preparation and smart hacks are indispensable. With the right diamond painting lifehacks you avoid common problems and work more pleasantly and efficiently. The right tools, such as a light pad or ruler, and practical techniques, such as working in sections or organizing your drills, make the difference between frustration and satisfaction.
In this blog we share the best diamond painting tips and handy tricks to help your project run smoothly. Whether you are just starting out or have years of experience: these insights will help you get the most out of your hobby. Read on and discover how to make your diamond painting experience easier and more enjoyable.
The 15 Best Diamond Painting Hacks, All in One Place
Whether you're just getting started or have already completed dozens of canvases, these diamond painting life hacks make your hobby a lot more fun, faster, and more precise. These are the most tried-and-true handy tips for diamond painting that every hobbyist can benefit from:
1. Use a light path for better visibility
A light path Placing a light pad under your canvas ensures that all symbols are clear and sharp. This prevents you from accidentally placing the wrong drill, especially with dark colors or fine details. It also spares your eyes, allowing you to work comfortably for longer.
💡 Want to know more about how a light pad can improve your diamond painting experience? Then read our blog The benefits of a light pad for diamond painting and discover why this tool is indispensable for both beginners and experienced hobbyists.

2. Work in small sections with washi tape
One of the best diamond painting tips: divide your canvas into clear sections with washi tape. This provides calm, helps you focus and prevents you from sweeping your hand over placed gems. In addition, the adhesive on the rest of the canvas remains clean and tacky.
3. Use a diamond painting ruler for straight lines
Are you bothered by crooked or messy rows? Then a diamond painting ruler indispensable. This tool ensures perfectly straight lines and a professional-looking final result. Especially with square tiles this really makes the difference.
4. Organize your beads with sorting boxes or… an egg carton!
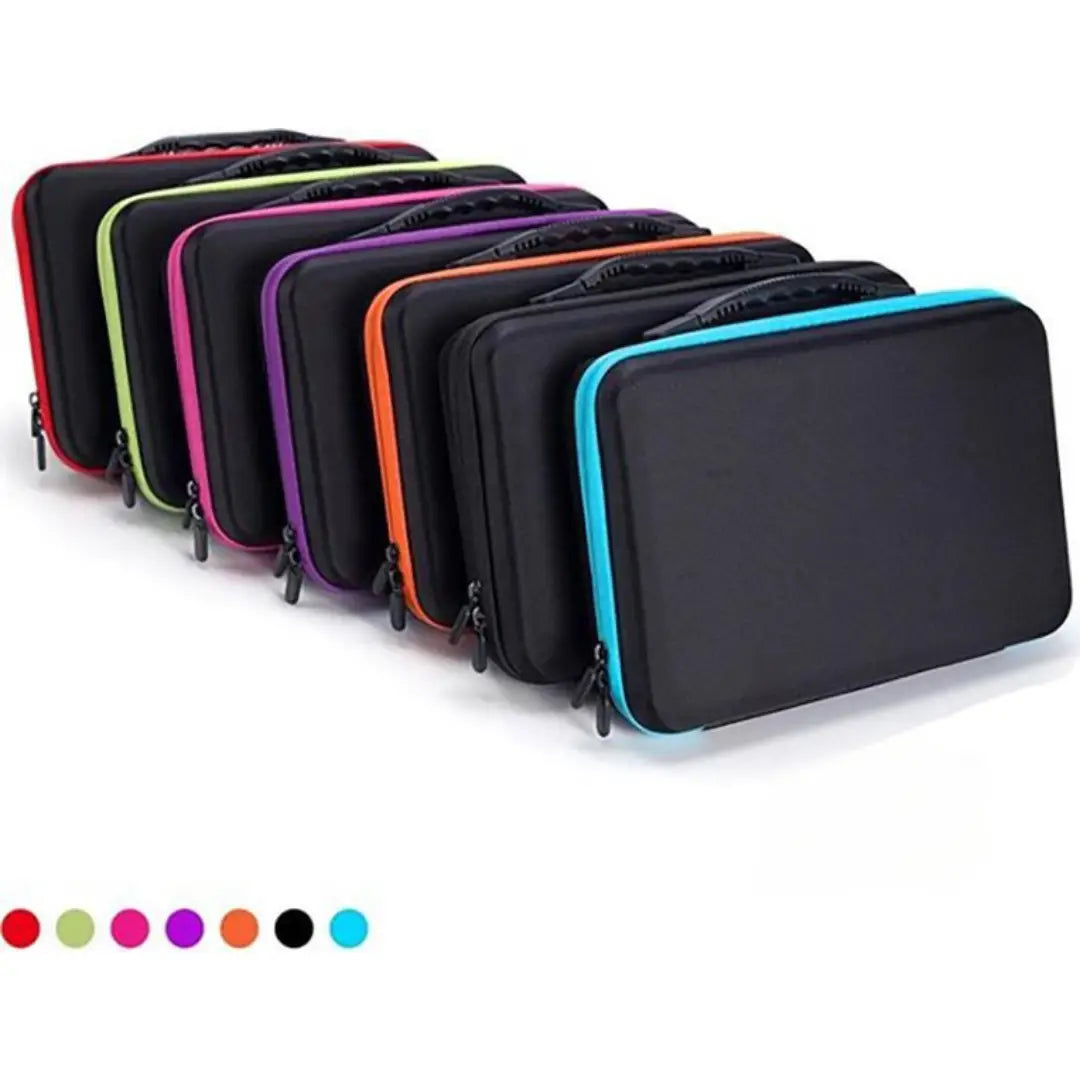
Keeping track of all those tiny diamonds can be a challenge. Use a sorting box of an old egg carton As a smart and affordable organizer. Each compartment is perfect for a different color and prevents the colors from mixing.
🧰 Have you lost track of all those loose pieces? With our storage boxes from the accessories collection Keep your diamond painting colors neatly sorted and always within reach. Check out the handy organizers in our collection: Diamond Painting Accessories.

5. Kitting up: always start with proper preparation
The kitting up of your project, so organizing and labeling your beads prevents frustration during painting. Stick the color codes onto trays or bags and pre-fill them. That way you know exactly where everything is, which leads to a much smoother workflow.

6. Use tweezers for precision work
Some parts of your canvas require extra precision. With a fine tweezers place your stones exactly in place, ideal for small mistakes or tricky corners where you can't reach well with a pen.

7. Bothered by static diamonds? Use a dryer sheet
Nothing is more annoying than static gems that stick everywhere except where you want them. Fix this with a small piece dryer sheet to add to your storage bag or sorting tray. That way the static charge melts away like snow in the sun.
8. Use a rhinestone roller to secure everything
Are your stones not fully pressed in? With a roller press all the little stones evenly without damage. One of the most underestimated Tips to make diamond painting easier!
9. Remove air bubbles with a paper cutter
Do you see air bubbles in the canvas? That can happen during shipping. Use a paper cutter or a small, sharp knife to carefully make a cut in the air bubble and press the air out. Be careful not to cut through the canvas.
10. Use alternatives to wax
Ever been without wax? No worries. Putty, Play-Doh or even a little bit of chewing gum Can temporarily serve as an alternative. These sticky materials will still help you pick up the little stones.
11. Label and store remaining diamonds
Don't throw away your leftover stones! Store them in small bags and label them with the corresponding DMC code. That way you slowly build up your own supply, super handy for emergencies or creative leftover projects.
12. Iron or heat your canvas to remove wrinkles
Does your canvas arrive rolled? Use a heating pad or an iron (on a low setting, with a cloth in between) to make it nice and flat again. This makes working a lot more pleasant.
🎥 Want to know how to get a wrinkled diamond painting canvas nice and taut again? Watch this handy YouTube video with clear instructions: Ironing the canvas for Diamond Painting – step-by-step instructions.
13. Make a mobile workstation with a cutting board
Use a cutting board as a base. Stick your canvas onto it, and voilà, a mobile workstation that you can easily move from the dining table to the sofa.
14. Always start at the bottom of your canvas
A simple but effective hack: work from bottom to top. This prevents you from accidentally brushing over the gems you've already placed or touching sticky areas with your hand.
15. Seal your painting and frame it
After all that hard work, you naturally want to protect your artwork well. Use a sealer (spray or brush) to secure the stones. Then frame your painting for a luxurious and lasting result.
🖼️ Curious how to best showcase your artwork? On our blog Ways to frame your diamond painting discover various techniques and tips to frame your painting stylishly and securely.

🎁 Bonus: Diamond Painting Hacks for Beginners
Have you just started with diamond painting and does everything still feel a bit overwhelming? Don't worry, everyone starts somewhere, and with these diamond painting hacks for beginners wordt your first project becomes a lot easier and more fun. These simple yet effective tips help you get started quickly and prevent common frustrations.
🔍 1. Use a magnifying glass to see symbols more clearly
Some symbols on the canvas can be very small or light, especially with dark colors or intricate patterns. A tabletop magnifying glass A loupe or magnifying lamp provides extra comfort and prevents you from accidentally placing the wrong stone. This is one of the most underrated but best diamond painting tips for beginners.
🧽 2. Always work on a clean, flat surface
A sticky canvas easily attracts dust, hair, or crumbs, and that can damage the adhesive layer. So always make sure you work on a clean, flat and dry work surface works. This not only helps keep your painting tidy, but also prevents frustration when placing the stones.
🧷 3. Use clips or painter's tape to secure your canvas
Nothing is more annoying than a canvas that keeps curling or shifting while you work. Use clips, painter's tape or washi tape to securely fasten your canvas to your work surface or cutting board. This keeps your work surface stable and allows you to paint comfortably with both hands, especially if you also use a light pad.
🎨 Just started with diamond painting? In our Beginner's guide to Diamond Painting we explain step by step how to get started, which materials you need, and offer helpful tips for getting off to a flying start with your first project.

Conclusion: Make Diamond Painting Easier and More Fun
Diamond painting is a fantastic hobby that lets you express your creativity, relax, and create a beautiful end result. But as with any hobby, there are times when things don't go quite right. Fortunately, thanks to these clever diamond painting lifehacks, you'll never have to struggle again with frustrations like static stones, crooked rows, or missing diamonds.
Whether you're just starting out or have years of experience, these handy tips for diamond painting and practical tools will make things a lot easier and more enjoyable. From using a light pad to sealing your work: it's often the small things that make a big difference.
Keep experimenting and discover which tricks to make diamond painting easier suit your style best. Who knows — you might even find your own ultimate hack you never want to be without!


